Our wonderful clients are always asking us “Why do your Santa photographs look so amazing?” Well, this page will highlight “The Magic Behind the Images” and just how we go about making that happen!
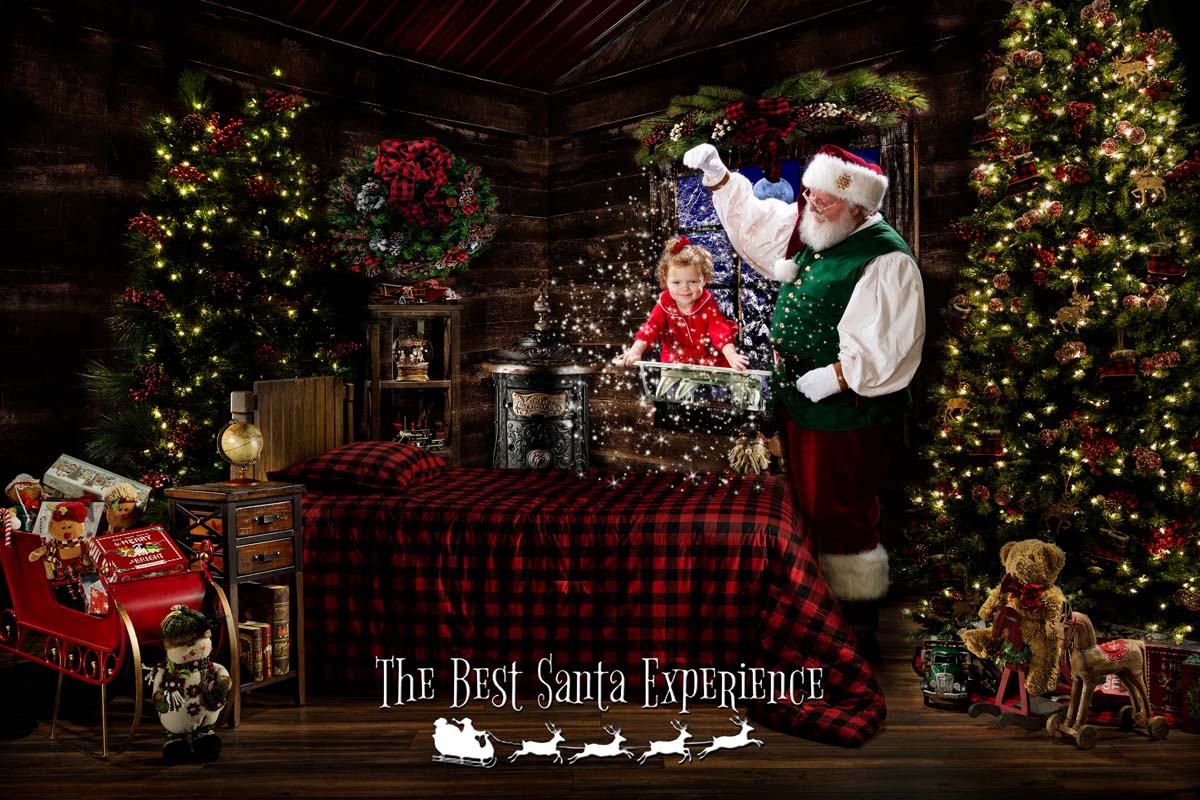
An adorable little girl takes a ride on Santa’s Magic Flying Sled!
Here’s the backstory about how far we go to create your beautiful, timeless Santa Claus photographs. Our Santa Experience imagery images look this way for a reason.
It starts with our custom-built sets, and how we go about building them. Then, it’s how they are lit and photographed to bring out all of the small details using a unique photographic process called light painting. And of course, we then combine our pretty sets with Santa Claus and your kids!
If You Build It, He Will Come
No, Shoeless Joe Jackson doesn’t show up at our studio, but Santa Claus and a couple of his elves do every year!
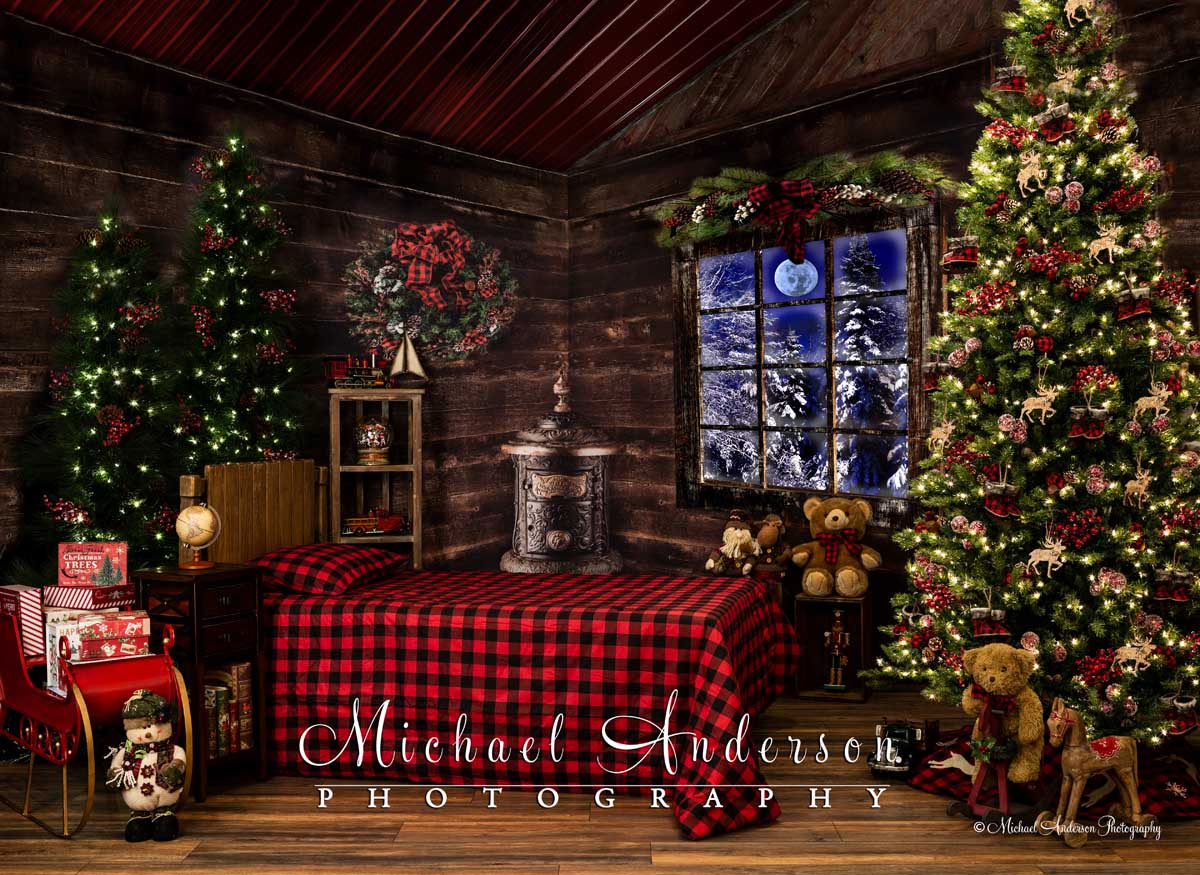
Storytime with Santa was our very first completely custom-designed set, created from scratch. In the first year or two, the background was simply a commercially printed backdrop that we purchased, and then we added the props.
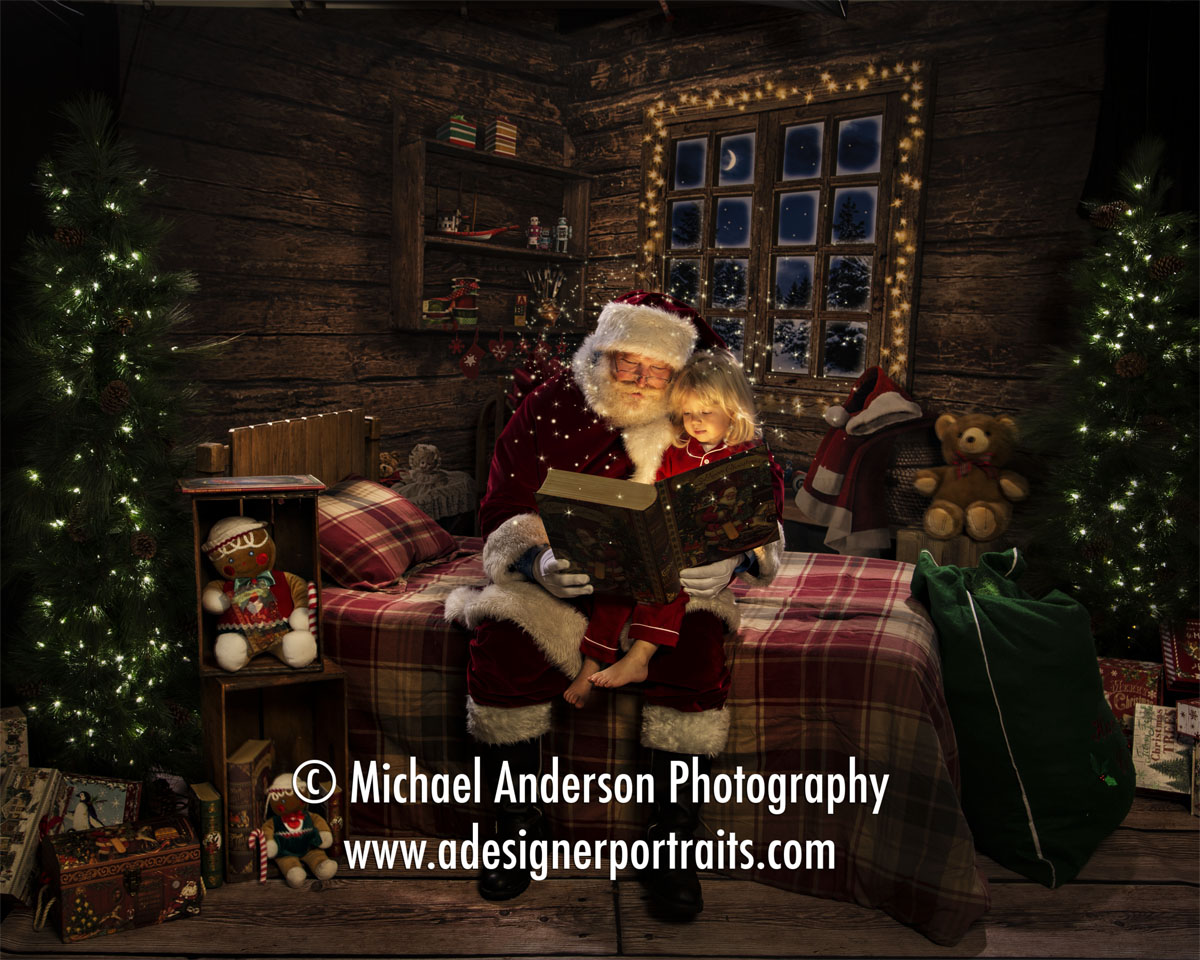
Our original set background was a commercially purchased backdrop for Storytime with Santa.
That really was a very nice-looking background (see the image above) and we loved the theme. But I, “Elf” Michael, wanted something that was totally unique and that no other Santa photographer had access to. That meant creating my own.
It’s All Real
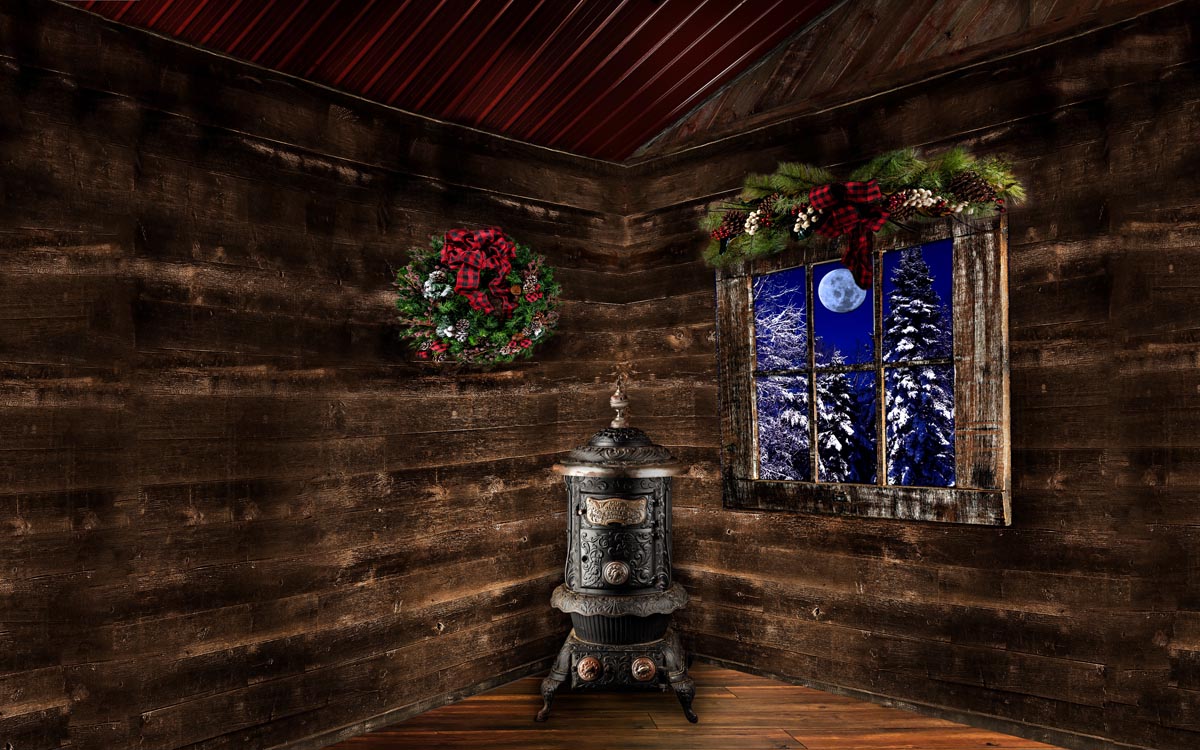
In our current Storytime with Santa set, the walls, ceiling, window, and stove are all real things. I photographed each one of them, one at a time, using a technique called light painting. Light painting brings out depth and details in a way that traditional photography cannot accomplish.
Even the scene outside the window is real! The moon, trees, snow, and all. The snow scene was actually taken in our very own Anderson’s Portrait Park, photographed right after a big snowstorm. And the moon and sky are images that I photographed while on the North Shore of Lake Superior.
To make sure that everything blends in well, the wreath and window pine bough were each light painted individually and added to the walls too.
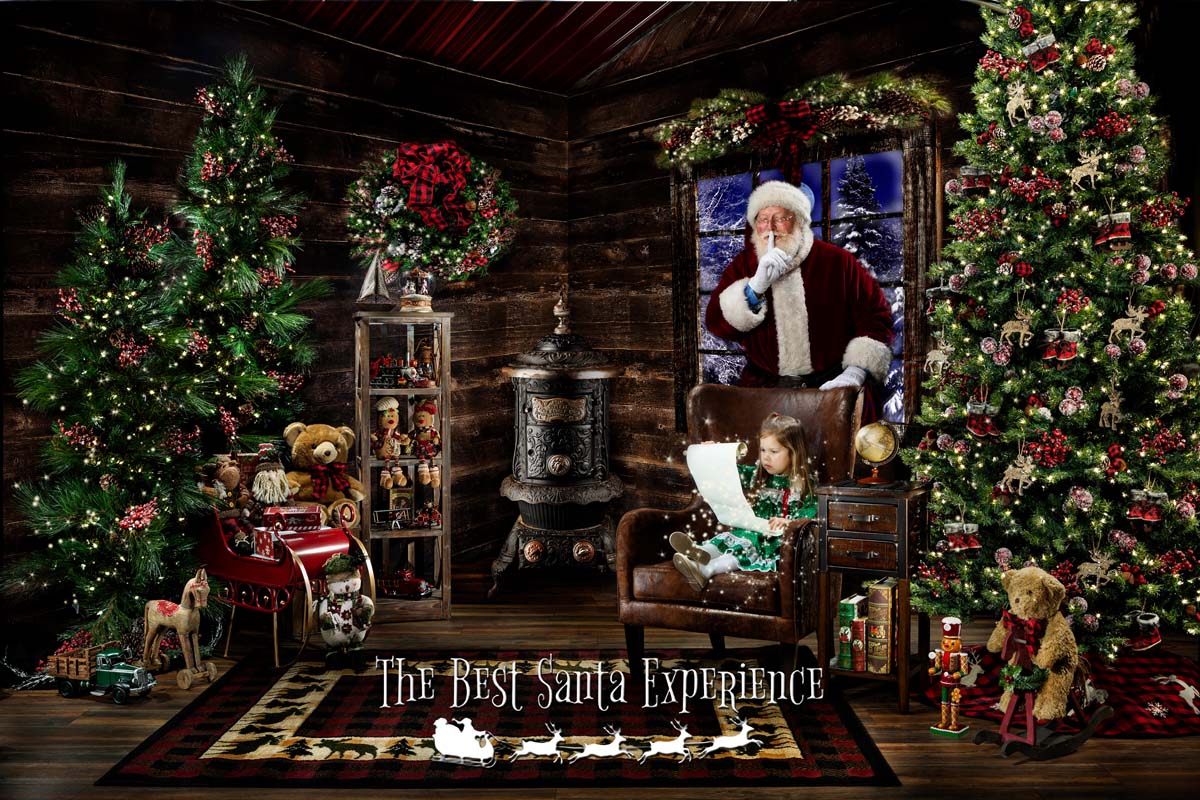
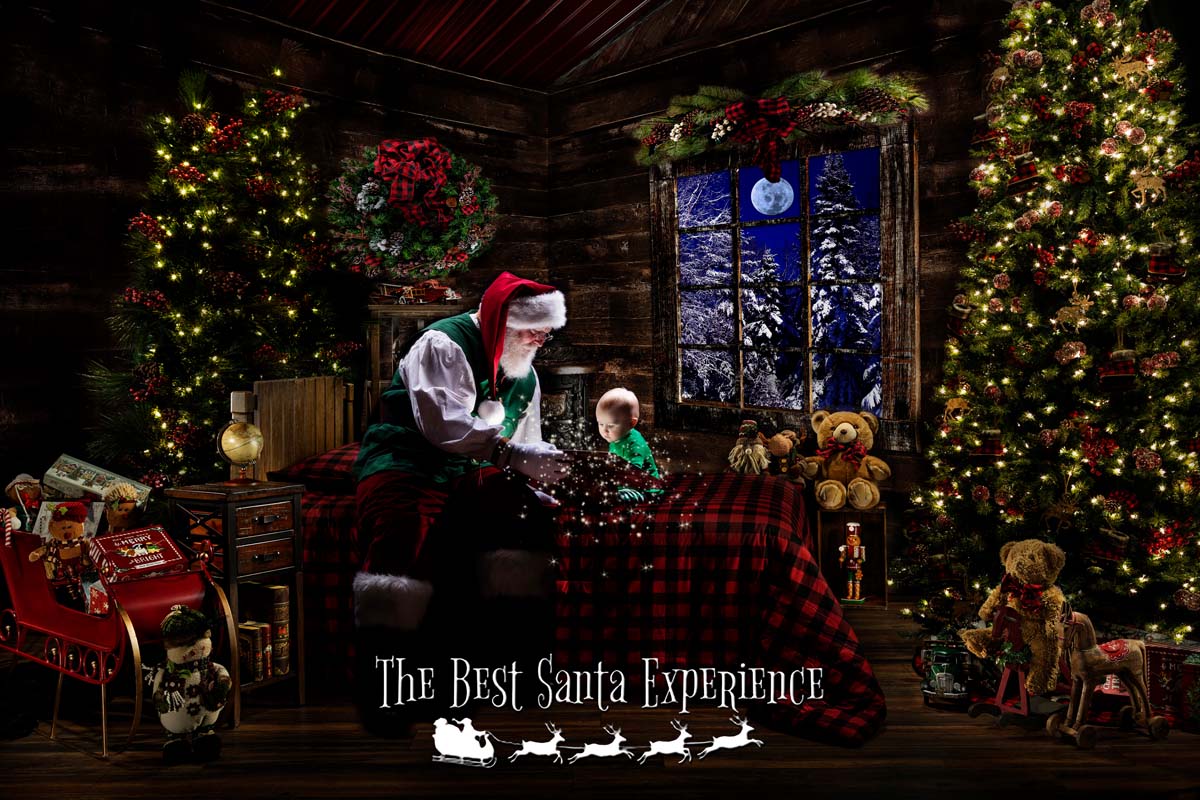
Finding her name on Santa’s Nice List!
The Pieces of the Santa Puzzle
When I was looking for ideas for this set design, I began by looking around for a real potbelly stove that I could actually put in the set. But, after seeing how large and heavy they are, I decided to “build” one into the set design using Photoshop.
Santa’s Potbelly Stove
So, I asked around to see who might have a potbelly stove. Our friends, Matt and Mary, had one and they told me I could come out and photograph it. At that time, I had no idea what the rest of the set might look like, but at least I’d have the potbelly stove part.
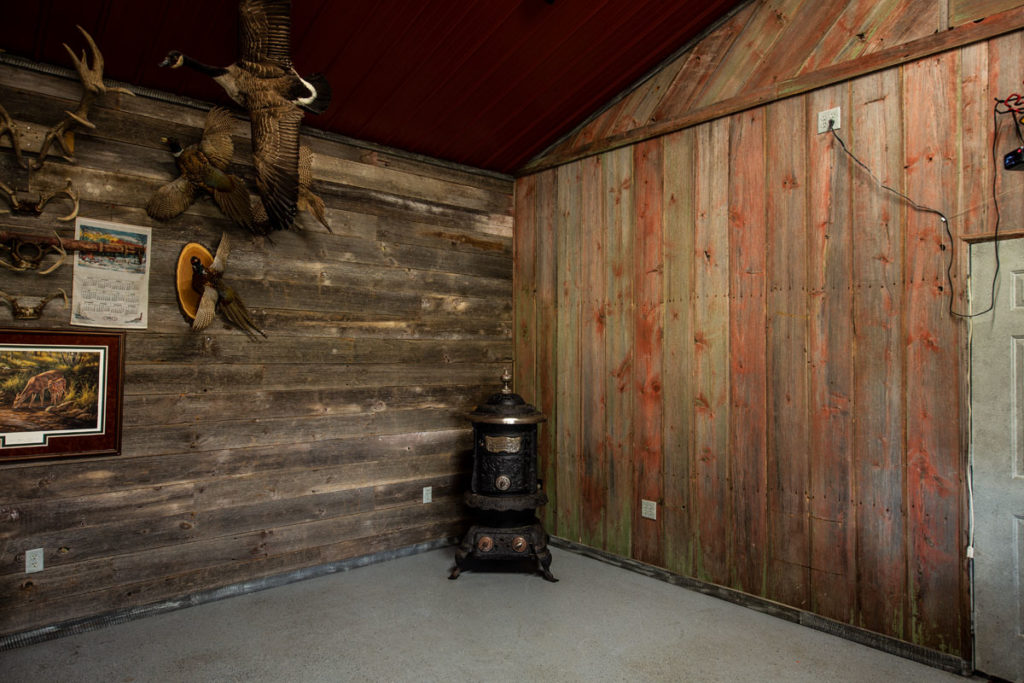
The potbelly stove was in Matt’s mancave inside of a pole barn, and when I saw it I knew I had a winner! It’s a very large stove and in great condition. I set out to light paint the stove from multiple angles so that I had options for its use down the road.
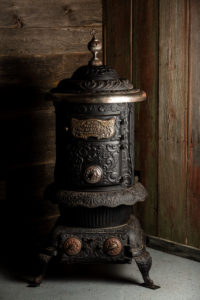
The Best Santa Experience light painted background element – the pot-bellied stove.
The added bonus here turned out to be the room where the stove was located. Once I saw it, I asked Mary if I could photograph it as well. She said, “No problem”, and the makings of an amazing Santa Experience set were born!
The short video below shows how each piece of the set was light painted on location and then combined into one image. It’s a big part of “The Magic Behind the Images”!

